Quick answer
For the four-serving development recipe below, the proposed starting point is 2 cups water, one undrained 14.5-ounce can of diced tomatoes, and 8 ounces dry wheat pasta. Keep extra hot water available and add it in measured ¼-cup increments only when needed.
Testing status: This formula has not been kitchen-tested. Its starting liquid, cooking time, and finished yield are provisional—not a verified ratio. Use the texture and sauce checks below rather than expecting the pot to finish on a fixed schedule.
1. Why there is no single water-to-pasta ratio
In one-pot pasta, your added water must cover more than pasta hydration: some remains in the sauce and some escapes during cooking. Published manufacturer recipes use specific combinations of pasta, sauce, water, and heat. For example, RAGÚ’s one-pot spaghetti uses 8 ounces pasta, a jar of sauce, and 2 cups water, with frequent stirring. That supports the general technique, but it does not validate the same water amount with canned tomatoes and chickpeas. (ragu.com)
Do not confuse the water needed for absorption with the amount you should pour into the pot. A pasta-cooking study measured average water uptake of approximately 1.3 grams per gram of dry pasta under its experimental conditions. For 227 grams pasta, that works out to approximately 295 grams of absorbed water. The researchers cautioned that results needed checking with other pasta formats. (pubmed.ncbi.nlm.nih.gov)
That calculation is useful for understanding hydration—not for setting this recipe’s liquid. It does not tell you how much water your tomatoes contribute, how much your pot loses, or how much sauce you want.
Also, standard package water quantities usually describe a boil-and-drain method. Panzani, for example, directs cooks to use 1 liter water per 100 grams penne and drain afterward. Do not transfer that quantity directly to a no-drain dinner. (panzani.com)
For your first attempt, keep the pasta, tomato type, pot, and lid position consistent. Change one variable at a time.
2. Four-serving development recipe: ingredients and equipment
Development status: An original, untested cooking proposal. The quantities below are specified for a trial batch; they are not reported test results.
- Planned yield: Four portions, each one-quarter of the finished batch; finished volume is unmeasured.
- Preparation allowance: About 10 minutes.
- Cooking allowance: Approximately 20–30 minutes, provisional.
- Suggested pot: A heavy-bottomed, approximately 4-quart pot, roughly 9 inches across inside, with a lid.
- Other equipment: Measuring jug, scale if available, colander, and a spoon or spatula that reaches the pot’s bottom.
Ingredients, in order of use
- 1 tablespoon olive oil
- 1 small onion, finely diced
- 3 garlic cloves, minced
- ½ teaspoon dried oregano
- ⅛ teaspoon crushed red pepper, optional
- One 14.5-ounce can diced tomatoes, including all juice—approximately 411 grams net contents
- 2 cups water—approximately 475 milliliters
- One 15-ounce can chickpeas, drained and rinsed—approximately 425 grams before draining
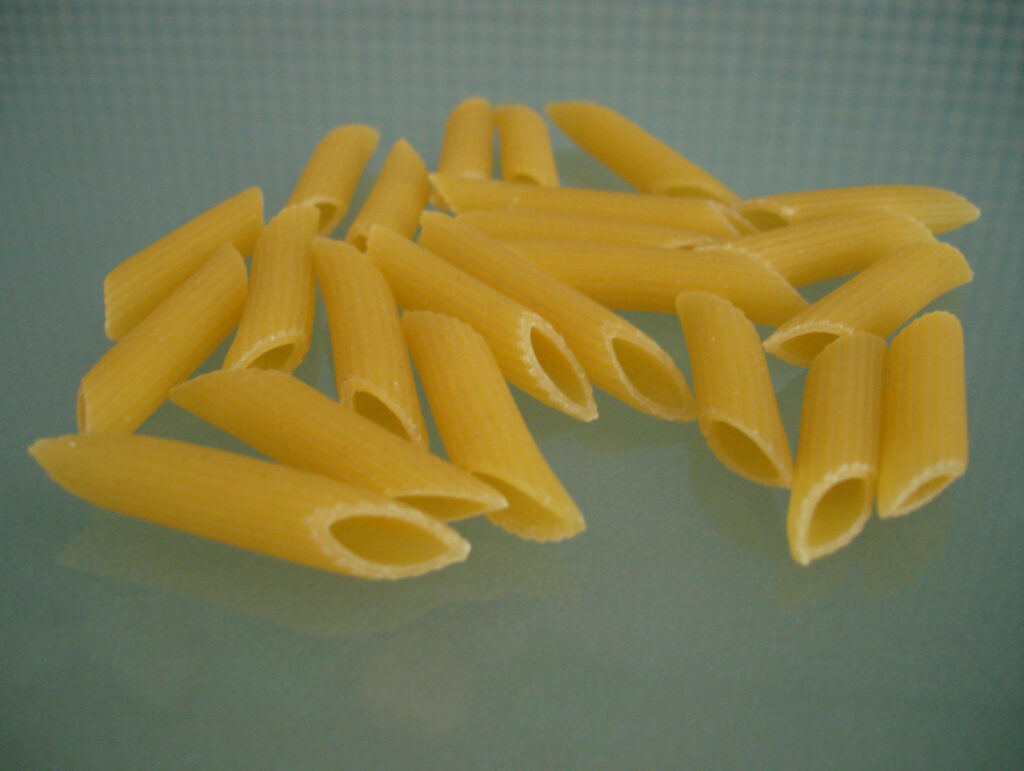
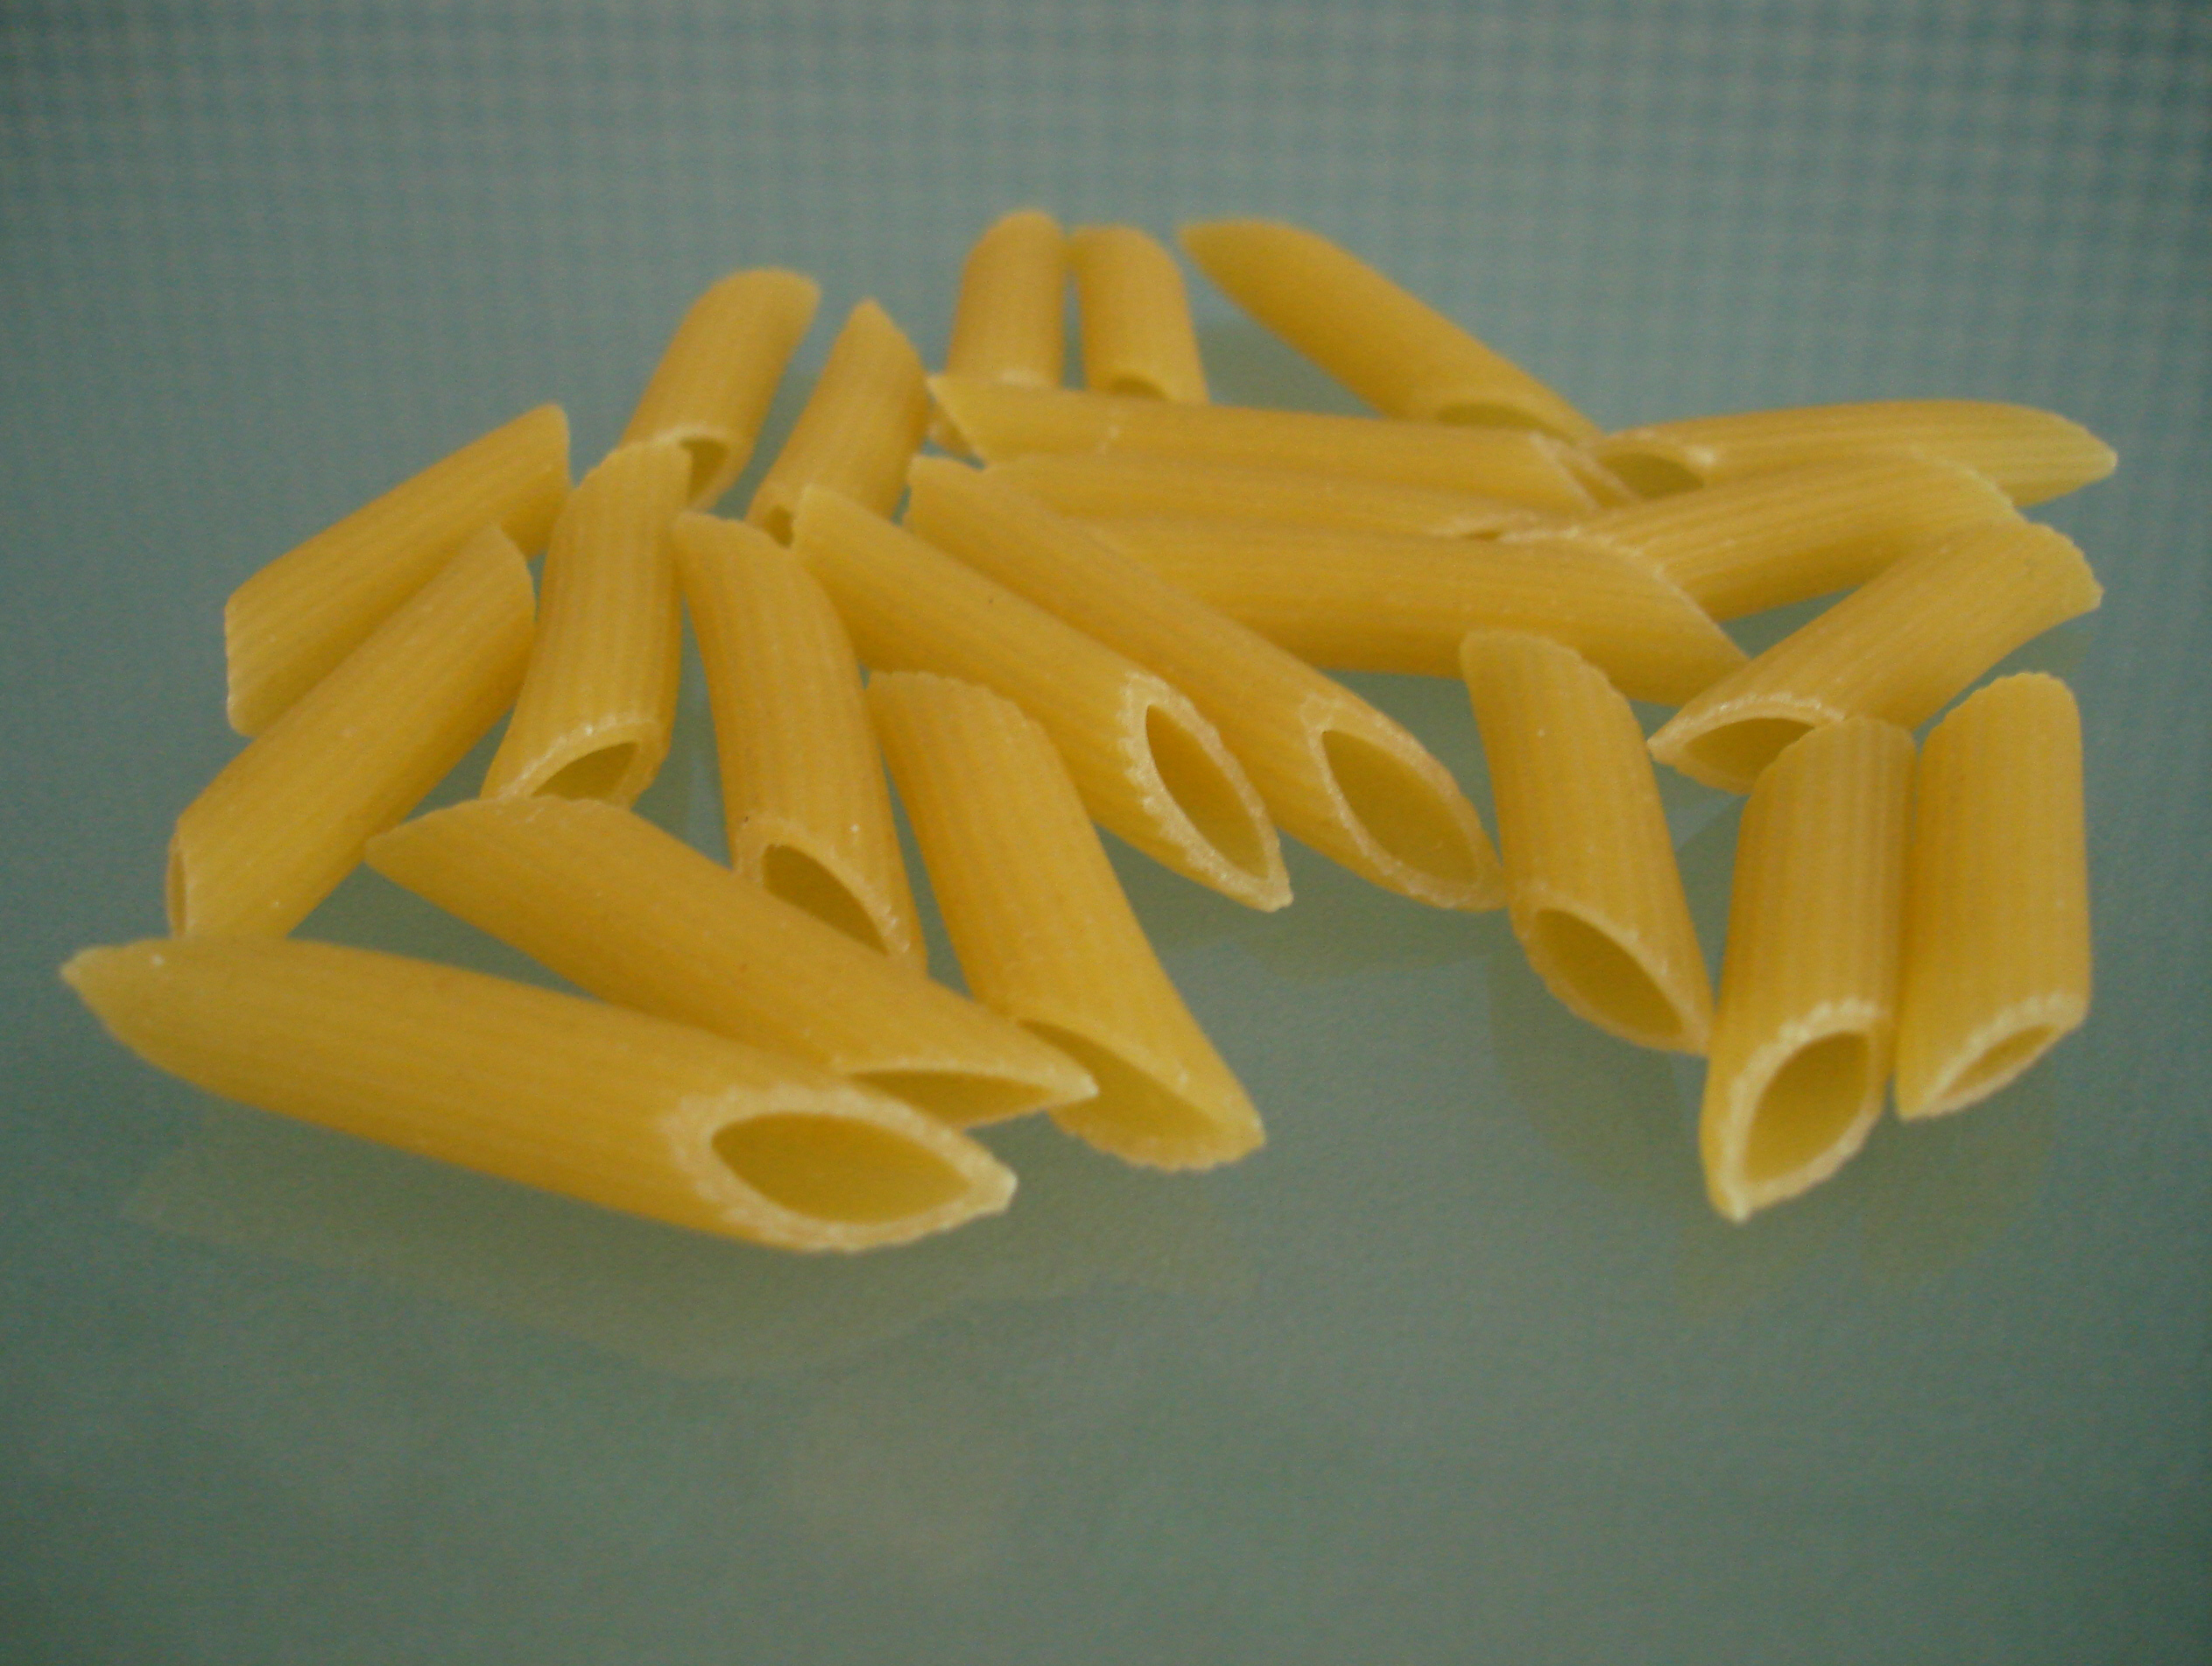
- 8 ounces dry, regular durum-wheat penne, rotini, or medium shells—approximately 227 grams
- ¼ teaspoon fine salt initially, with more to taste
- Black pepper, to taste
- At least 1 cup extra hot water available for adjustments; this is a reserve, not a required addition
- Optional finish: torn basil and grated Parmesan
For this trial, measure the starting water rather than filling the empty tomato can by eye. Drain the chickpeas separately so their packing liquid does not become an unrecorded addition.
Keep the first batch simple: leave out extra vegetables, tomato paste, cream, and additional beans. Establish the base formula before adding variations.

3. How to cook it while checking both pasta and sauce
The following steps are the proposed development method. Frequent stirring and cooking until the pasta is tender follow the general approach in RAGÚ’s published one-pot instructions; the ingredient combination and checkpoints here remain untested. (ragu.com)
-
Soften the onion. Put the oil and onion in the pot over medium heat. Cook, stirring, for approximately 5–7 minutes, using softened onion—not deep browning—as the target. Reduce the heat if the edges darken before the pieces soften.
-
Add the aromatics. Stir in garlic, oregano, and optional red pepper. Cook briefly, approximately 30 seconds, then add the tomatoes before the garlic browns.
-
Build the cooking liquid. Add the tomatoes with their juice and the measured 2 cups water. Stir across the bottom to release anything sticking. Raise the heat to medium-high and bring to a boil.
-
Add pasta and chickpeas. Stir in the dry pasta, drained chickpeas, salt, and pepper. Return to bubbling, then reduce the heat to maintain a steady, gentle simmer.
-
Cook uncovered and stay nearby. For this trial, leave the lid off so you can see and stir the mixture. Sweep the bottom frequently and turn pasta from the surface into the liquid. Avoid leaving the pot unattended while the sauce thickens.
-
Start tasting before the package time ends. As a proposed checkpoint, begin about 2 minutes before the package’s stated cooking time. Cool a piece before tasting. Continue checking until its center is pleasantly firm rather than hard or chalky. Package times are reference points, not verified finishing times in this tomato mixture.
-
Adjust only after checking texture. If the pasta is still hard and the mixture is too thick to stir freely, add ¼ cup hot water, stir, and reassess. If the pasta is tender but the sauce is loose, use the troubleshooting section below.
-
Finish off the heat. Aim for sauce that coats the pasta while still moving readily when stirred. As a final check, let the pot stand for about 2 minutes, stir again, and decide whether it needs a small splash of water. Taste before adding more salt or optional cheese.
Treat these times as prompts to inspect the food, not instructions to ignore what is happening in the pot.
4. Short pasta shapes: what to check differently
“Short pasta” is not one cooking time. Barilla’s professional chart, for example, lists standard cooking times of 7 minutes for rotini, 8 minutes for medium shells, and 11 minutes for penne rigate for the particular products listed. Your package takes priority over these examples. (barillaforprofessionals.com)
Use the following checks during your trial:
| Shape | Practical check |
|---|---|
| Penne | Taste through the thick tube wall; do not judge only by the softened ends. |
| Rotini | Check the center of the spiral as well as the thinner outer edges. |
| Medium shells | Separate pieces that have nested together, then taste more than one shell. |
Keep the dry weight at 8 ounces when comparing shapes. Do not substitute an equal cup volume and assume you have kept the batch unchanged.
Record the exact product and its package time. The useful result is not simply “penne worked,” but “this penne, in this pot, needed this much added water.”
5. How to rescue a dry, soupy, or sticking pot
These are practical adjustment suggestions, not measured outcomes from testing this recipe. Make small changes and reassess rather than correcting the whole pot at once.
| What you observe | Suggested next action |
|---|---|
| Pasta is hard; sauce barely moves when stirred | Add ¼ cup hot water, stir thoroughly, and maintain a gentle simmer. |
| Pasta is hard; plenty of loose liquid remains | Keep cooking and checking. Do not add water merely because the package time has elapsed. |
| Pasta is nearly tender; sauce looks slightly loose | Stop adding water. Recheck after the brief off-heat rest. |
| Pasta is tender; a substantial watery pool remains | Lift the pasta and chickpeas into a bowl with a slotted spoon. Simmer the remaining sauce separately, then recombine. |
| Food is sticking without a burned smell | Lower the heat, add a small measured splash of water, and gently loosen the bottom. |
| The bottom smells burned or has blackened patches | Stop stirring. Transfer the unburned upper portion to a clean pot without scraping up the scorched layer. Taste before continuing. |
Worked adjustment example: Suppose you start with 2 cups water and make two separate ¼-cup additions while the pasta is still firm. Your total added water is 2½ cups, excluding the tomato juice. Record that total alongside the pasta shape and cooking time.
This is an accounting example, not evidence that 2½ cups is the correct amount.
The main mistake to avoid is treating pasta tenderness and sauce thickness as the same problem. Check each separately before choosing the next step.
6. Substitutions and scaling: what remains unknown
Different tomato forms: Keep diced tomatoes with their juice for the first trial. Crushed tomatoes, passata, tomato paste, and jarred sauce are not verified equivalents in this formula. If you change the tomato product, treat it as a new development batch.
Broth instead of water: You can propose a same-volume substitution for flavor, but check the broth and canned-food labels before adding the initial salt. Do not assume a substitution has been tested.
Gluten-free pasta: No gluten-free version of this formula has been validated. The products themselves differ: De Cecco’s gluten-free penne uses corn and rice, while Barilla’s chart separately lists gluten-free and legume-based pasta products with their own cooking times. Those directions do not establish a shared one-pot hydration rule. (dececco.com)
For a more controlled gluten-free adaptation, cook the pasta separately according to its package, prepare the tomato-chickpea mixture without the proposed pasta-cooking water, and combine afterward. That sacrifices the one-pot method but avoids guessing a replacement liquid ratio.
If gluten avoidance is medically necessary, follow cross-contact precautions as well as ingredient-label checks. Cooking does not remove transferred gluten or food allergens.
Doubling: Do not present twice the starting water in a larger pot as a validated eight-serving recipe. Until scaling has been tested, two separate four-serving batches are the clearer way to preserve the proposed setup.

7. Serving, leftovers, and what to record
Divide the batch into four portions and add basil, pepper, or cheese as desired. For the first trial, judge the sauce before adding cheese so you can record the base result clearly.
Keep food-safety checks separate from texture checks:
- Refrigerate leftovers within 2 hours, or within 1 hour when the surrounding temperature exceeds 90°F.
- Keep the refrigerator at 40°F or below. (fda.gov)
- Divide leftovers into smaller containers for faster cooling. Use refrigerated leftovers within 3–4 days and reheat to at least 165°F, measured with a food thermometer. (extension.illinois.edu)
For reheating, try a small splash of water and stir as the pasta warms. That is a consistency adjustment, not a replacement for checking the reheating temperature.
Finally, write down the pasta product, tomato product, pot diameter, lid position, cooking time, total added water, and consistency after resting. A starting estimate becomes useful through repeatable observations—not through an unsupported promise that one liquid quantity always works.