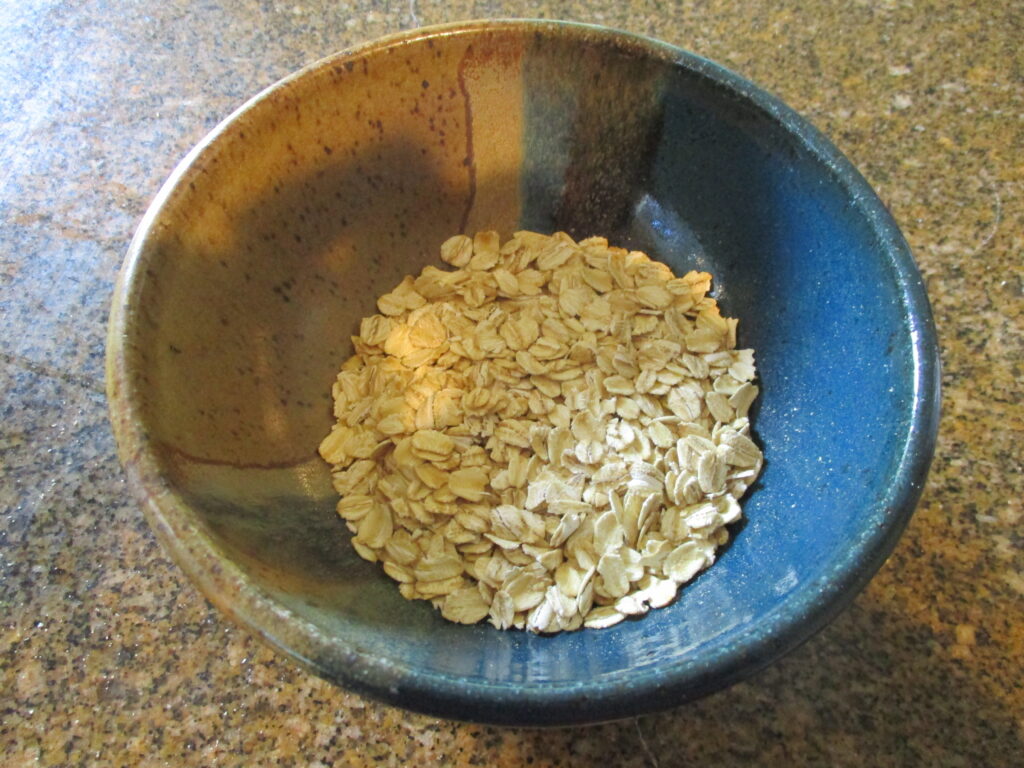
Quick answer: For one serving, start with ½ cup old-fashioned rolled oats and 1 cup water or milk—a 1:2 ratio by volume. Quaker’s stovetop directions call for about 5 minutes of cooking, stirring occasionally. For a thicker bowl, rest the cooked oats before adding anything; for a looser, creamy bowl, try stirring in extra liquid 1 tablespoon at a time. Check your package because cooking times differ between products. (quakeroats.com)
Method and testing status: The basic ratio and cooking method below draw on published manufacturer and university-extension instructions. The small-step texture adjustments, equipment recommendation and measured flavor variations are proposed home-cooking adaptations, not documented kitchen-tested recipes.
1. Start with ½ cup rolled oats and 1 cup liquid
For your first bowl, measure both ingredients rather than judging by how deeply the liquid covers the oats. Montana State University Extension uses 1 cup oats with 2 cups water for two servings; halving that gives ½ cup oats with 1 cup water for one. Its listed serving size works out to approximately 1 cup cooked oatmeal. Actual yield will depend on evaporation and your final texture. (montana.edu)
Use that baseline to learn what your oats do before changing several things at once. On subsequent mornings, keep a simple note: oat brand, cooking time and how much finishing liquid you preferred.
Choose water, milk or a combination. Milk makes a richer bowl, but it needs gentler heat because it can scorch. Bob’s Red Mill also suggests cooking oats in water and adding milk afterward as an option. For a beginner, that separates cooking the oats from adjusting their richness. (bobsredmill.com)
A practical starting choice is to cook with water, then decide whether the finished bowl needs a spoonful of milk.
2. Check the oat type before setting a timer
Old-fashioned, quick and steel-cut oats are not interchangeable under one set of directions. Rolled oats are steamed and flattened; quick rolled oats are thinner, while steel-cut oats are chopped pieces of the groat. Those differences affect cooking time and texture. (bobsredmill.com)
These published directions illustrate why the package matters:
| Oat product | Dry oats | Starting liquid | Published stovetop time |
|---|---|---|---|
| Quaker old-fashioned rolled oats | ½ cup | 1 cup | About 5 minutes |
| Quaker quick 1-minute oats | ½ cup | 1 cup | About 1 minute |
| Quaker traditional steel-cut oats | ¼ cup | 1½ cups | 25–30 minutes |
These are product-specific instructions, not universal ratios for every oat sold under those names. (quakeroats.com)
Even rolled-oat directions vary. Bob’s Red Mill’s basic old-fashioned recipe uses the same 1:2 oats-to-water ratio but specifies 10–20 minutes, depending on the desired consistency. Follow the directions on the oats you actually have; do not assume a thicker flake will finish on another brand’s five-minute schedule. (bobsredmill.com)
3. Gather ingredients and a small saucepan
Yield: 1 serving, approximately 1 cup cooked before optional additions.
Suggested equipment: A heavy-bottomed 1½- to 2-quart saucepan, measuring cups, tablespoon and a heatproof spoon or flexible spatula. The pan size is a practical recommendation, not a manufacturer requirement.
Planning time: Allow about 2 minutes to measure ingredients, plus time to heat the liquid, your package’s cooking time and a brief rest. For rolled oats with five-minute directions, allow roughly 10–15 minutes overall; this is an untested planning estimate.
Ingredients, in order of use:
- 1 cup water, milk, or a combination totaling 1 cup
- A small pinch of salt, optional
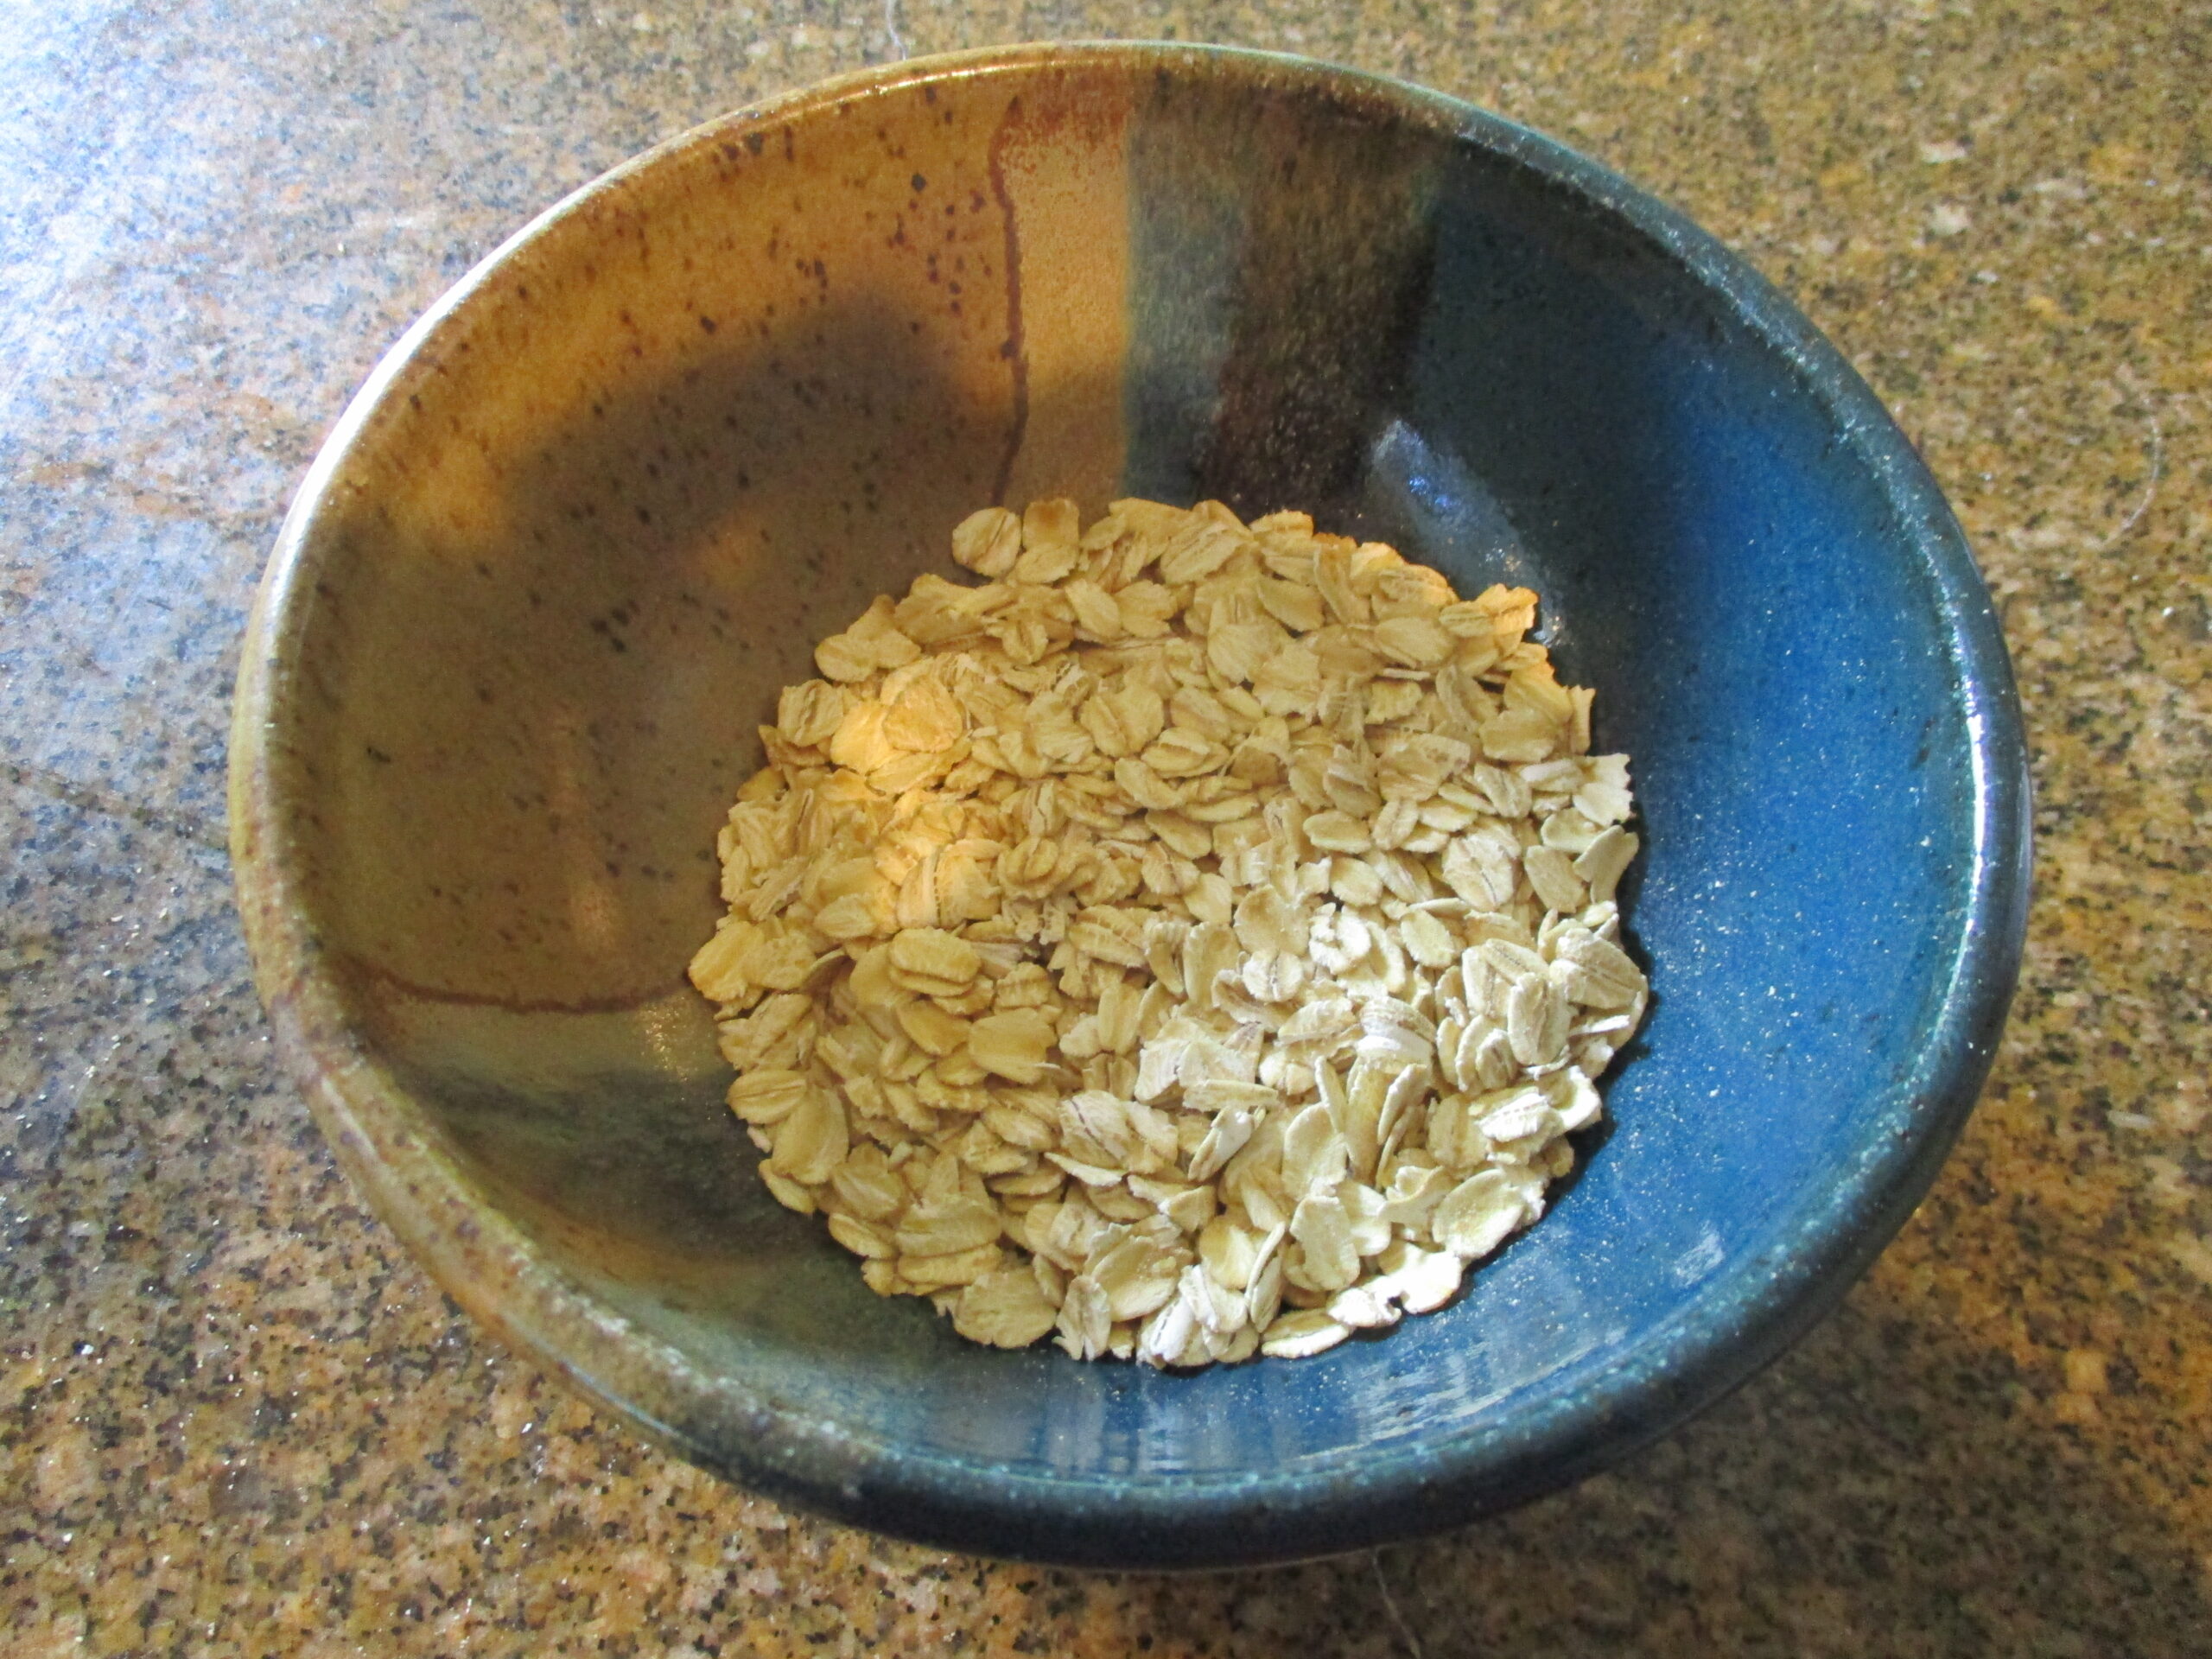
- ½ cup old-fashioned rolled oats
- Extra water or milk for finishing, added in measured tablespoons
- Optional toppings from Section 6
The base quantities follow published single-serving directions. (quakeroats.com)
For a first attempt, use the saucepan rather than a wide skillet, and keep a tablespoon beside the stove. That gives you a consistent setup for making small adjustments instead of pouring in an unknown amount of liquid.

4. Cook gently, then judge the texture
- Heat the liquid. Put the measured liquid and optional salt in the saucepan. Bring water to a boil over medium heat. If using milk, stay nearby and reduce the heat promptly as it reaches a boil; high heat increases the risk of scorching. (quakeroats.com)
- Add the oats. Stir them into the hot liquid. Reduce to low or medium-low as needed for a gentle simmer. Montana State University Extension specifies low heat after adding the oats. (montana.edu)
- Cook for your package’s time. Stir occasionally, moving the spoon across the bottom and around the corners rather than only circling the surface. Published manufacturer methods call for occasional stirring. (quakeroats.com)
- Check a cooled spoonful. Look for softened flakes and taste for your preferred tenderness. Bob’s Red Mill describes cooked rolled oats as soft and creamy while retaining some texture. If yours need more cooking, continue gently rather than increasing the burner sharply. (bobsredmill.com)
- Remove from the heat and rest briefly. Give the oatmeal a minute or two, then stir again before adjusting. Manufacturer guidance notes that oats continue absorbing liquid as they cool. (bobsredmill.com)
Use these cues to judge eating quality—not the safety of leftovers. Reheated oatmeal needs the separate temperature check in Section 8.
5. Adjust thick or creamy oatmeal in small steps
“Creamy” need not mean watery, and “thick” need not mean dry. Decide what you want the spoonful to do, then make one small change.
For a thicker bowl: Try the short off-heat rest first. Do not immediately add more raw oats to a cooked serving. If you still want it thicker, try returning it to low heat briefly, stirring and checking frequently. Treat this as a proposed adjustment rather than a fixed extra cooking time.
For a looser bowl: Try adding 1 tablespoon water or milk, stirring thoroughly and checking again. Repeat only if needed. Adding liquid gradually is a practical adaptation of the manufacturer’s suggestion to loosen oatmeal with a splash of water or milk. (bobsredmill.com)
Worked example: Suppose you cook ½ cup oats in 1 cup water and find the rested oatmeal thicker than you want. Stir in 1 tablespoon milk, assess it, then add a second tablespoon if needed. You have now used 1 cup water plus 2 tablespoons milk. Record that as your preferred starting method—not as a guaranteed ratio for another brand.
For a thicker result next time, repeat the original cup of cooking liquid and omit the finishing milk. This keeps the comparison useful: the oats and cooking method stay the same while the finishing adjustment changes.
6. Try banana-cinnamon or savory cheese oatmeal
The following quantities are suggested variations, not tested formulations. Make the base oatmeal first so you can judge it before the additions.
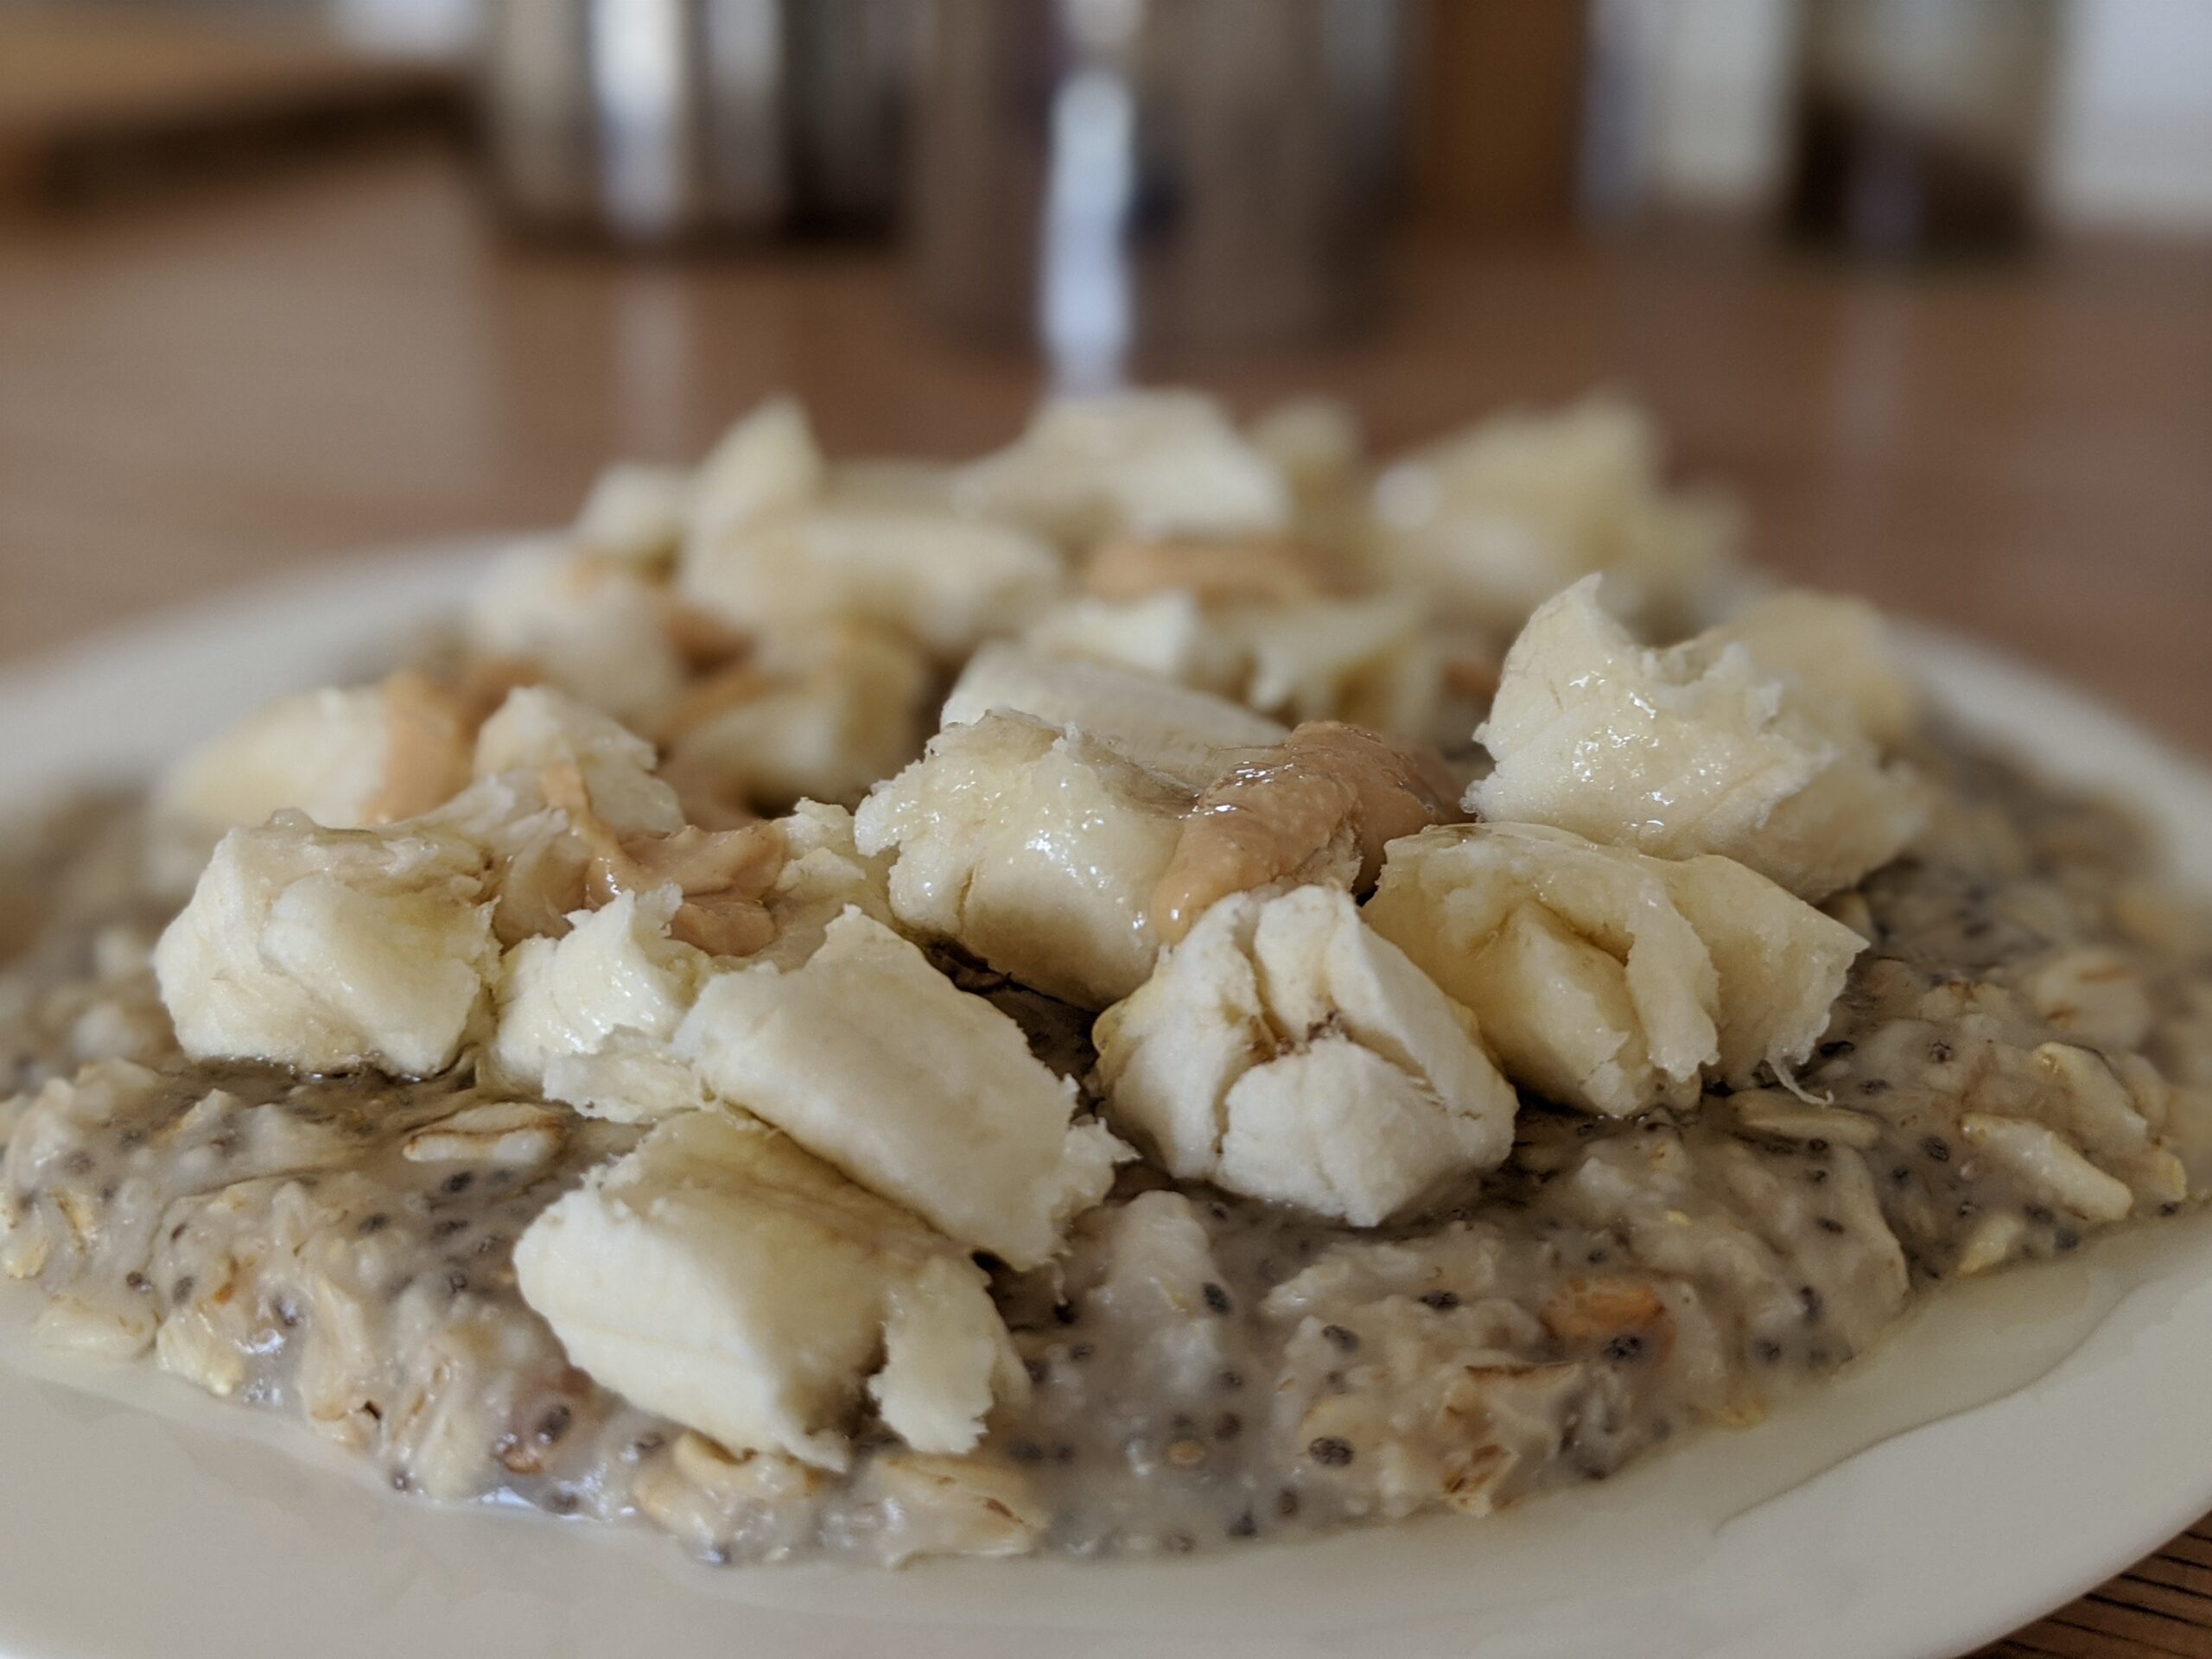
Banana-cinnamon bowl
For one cooked serving, try:
- ½ ripe banana, sliced or mashed
- ¼ teaspoon ground cinnamon
- Milk or water, 1 tablespoon at a time, if wanted
Stir in the banana and cinnamon after cooking, or leave the banana on top for a more distinct fruit topping. Taste before deciding whether to add a sweetener. Banana and cinnamon are both listed as optional oatmeal additions by Montana State University Extension; the quantities here are proposed. (montana.edu)
Savory cheese bowl
For one cooked serving, try:
- 2 tablespoons shredded cheddar
- A small pinch of black pepper
- 1 teaspoon sliced chives, optional
- Water or milk for a final texture adjustment, if needed
For this proposed version, cook the oats in water and omit the initial salt. Remove the pan from the heat, stir in the cheese, then taste before adding salt or pepper. Adjust the finished consistency only after incorporating the cheese.
Start with the stated amount rather than a large handful. You can add more next time after deciding whether you prefer oatmeal with a light cheese flavor or a more pronounced one.

7. Troubleshoot thickness, sticking and scorching
Use this sequence before abandoning the bowl:
- Too thick: Try a measured tablespoon of liquid, stir and reassess.
- Too loose: Rest it briefly before changing anything; oats can thicken off the heat.
- Still too chewy: Check the package’s time, especially if you changed brands or bought thicker flakes.
- Milk catching on the bottom: Lower the heat. For the next batch, consider cooking in water and adding milk afterward.
The rest, added-liquid and gentler-milk-heating approaches follow manufacturer guidance. (bobsredmill.com)
If you suspect scorching, stop stirring and move the pan off the burner. As a practical salvage attempt, transfer the loose oatmeal to a clean pan without scraping up the stuck layer. Taste a cooled spoonful before adding toppings. Do not expect banana, cinnamon or cheese to remove an established burnt flavor; starting again may be the better choice.
For the next attempt, change one thing: use lower heat, stay beside the pan, or switch to water for cooking. Avoid simultaneously changing the oat quantity, liquid and cooking time—you will have little basis for knowing what helped.
8. Store promptly and reheat with a temperature check
Transfer leftover oatmeal to a shallow, covered container and refrigerate promptly. FoodSafety.gov advises refrigerating perishable food within 2 hours, or 1 hour when the surrounding temperature exceeds 90°F. Keep the refrigerator at 40°F or below. Do not leave oatmeal on the counter waiting for it to become completely cold. (foodsafety.gov)
Label the container and use refrigerated leftovers within 3–4 days. Reheat leftovers to 165°F, measured with a food thermometer. These are general leftover-food standards, not an oatmeal-specific shelf-life study. (extension.illinois.edu)
For a stovetop reheat, try adding a small amount of water or milk and warming gently while stirring; adding liquid is a manufacturer-supported way to restore consistency. Check the temperature before serving. If you add more cold liquid afterward, heat and check again rather than assuming the earlier reading still applies. (bobsredmill.com)
The final distinction is simple: the spoon tells you whether the texture suits you; the thermometer checks reheated leftovers.